

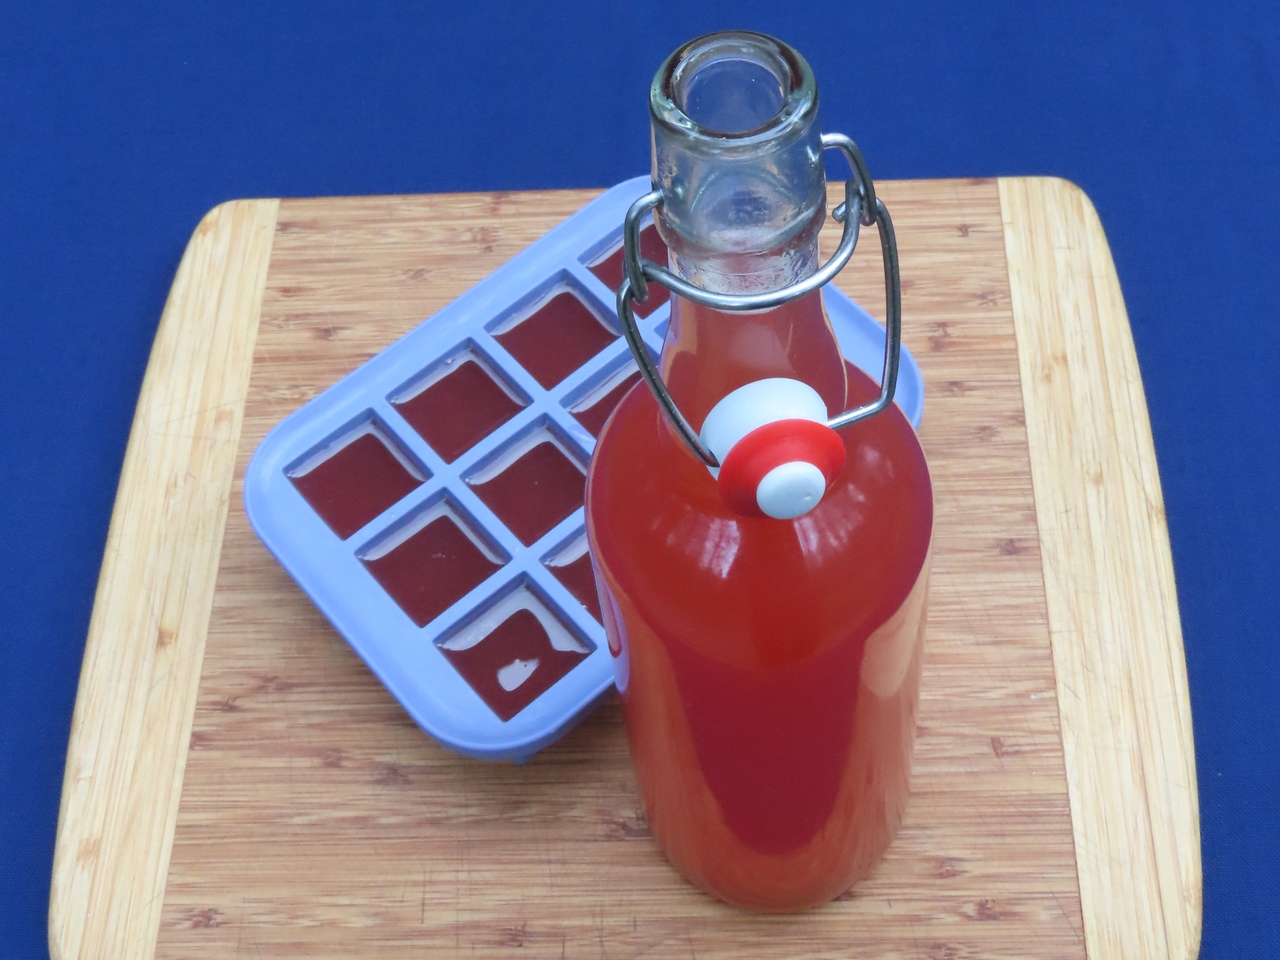
Fruit syrups are easy to make—if you create a jar at a time or have a bumper crop of fruit and a plan to use the remaining solids. As I explain this week in my Twice as Tasty column for the Flathead Beacon, it takes about 3 pounds of berries to create about 2 cups of syrup. When you use raspberries for syrups or their tangy cousins, drinking shrubs, roasting the berries and straining off the juice leaves a couple of pounds of sweetened seedy pulp. I hate to dump such a large mound straight into the compost. I primarily freeze the pulp in cubes to blend into smoothies instead of whole raspberries and notice little difference in the overall seediness.
Other easy uses that make berry pulp versus whole fruit less noticeable include granola: Dry the pulp in sheets and crumble it into the mixture of grains, seeds, and nuts. Some baked goods, like quick bread, can handle a certain volume of seedy pulp. The berry pulp still has enough flavor to infuse vodka or vinegar.
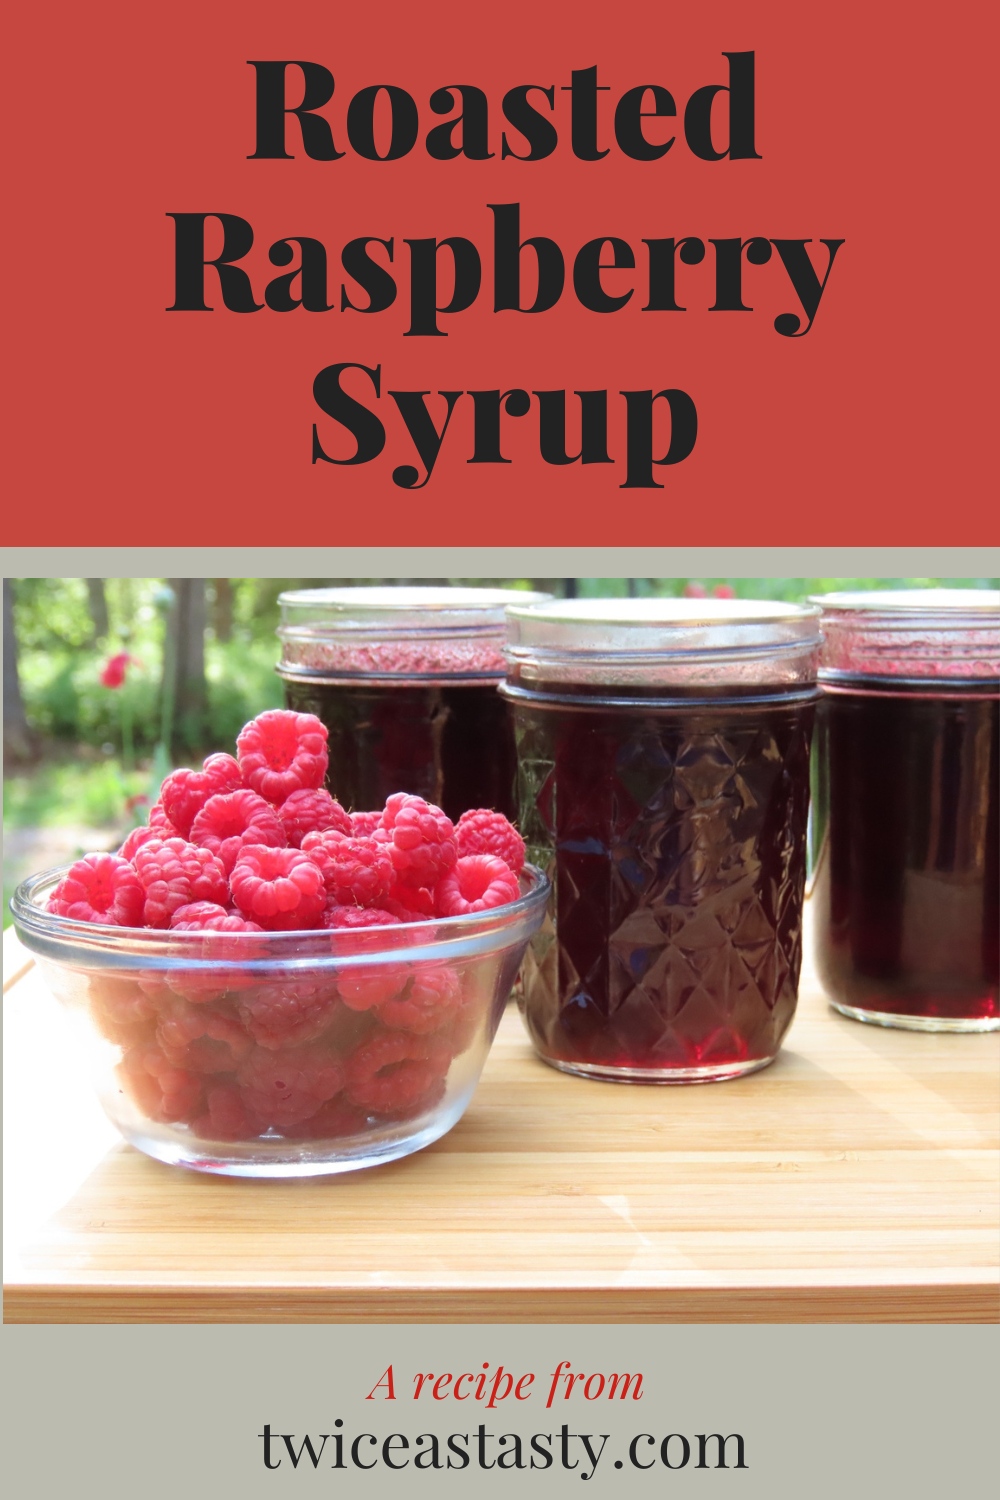
Learn more about making and storing fruit syrups and get the complete recipe for Roasted Raspberry Syrup in my column.
 Make it, share it.
Tag @twiceastastyblog and #twiceastastyblog
Twice as Tasty
 I use four techniques to separate fruit juice from pulp for fruit syrups and shrubs:
- Oven-roasted fruit, as in the Roasted Raspberry Syrup recipe in this week’s column, for rich, caramelized notes
- Fresh fruit macerated slowly in all of its sugar, as in Strawberry-Rhubarb Shrub, for bright, clean flavor
- Frozen fruit whose juice separates during thawing, as in Frozen Strawberry Syrup, for easy, hands-off prep
- Stovetop-simmered fruit, as in Rhubarb–Vanilla Syrup, for dense rhubarb stalks and stone fruits
A shrub concentrate keeps well in the refrigerator and makes about 20 mocktails or cocktails from a single 2-1/2-cup batch. The natural acidity of the fruit and the bonus vinegar mean it is likely safe to can a shrub concentrate, but to my knowledge, no one has lab-tested it for a safe processing time.
In contrast, a single 8-ounce jar of berry syrup might disappear at a large pancake breakfast or sundae party. So if you have a bumper crop of raspberries, it can be worth processing the jars in a boiling water bath or steam canner.
If you’re new to home canning, I highly recommend checking out my Canning basics page or the Canning, Step by Step section in my pickling cookbook, as well as the free safe-canning resources listed there, including the National Center for Home Food Preservation website and the downloadable USDA Complete Guide to Home Canning. Home canning requires adherence to tested processes and ingredient ratios to ensure the safety of food sealed in jars and stored on shelves. These resources cover all of the details and include hundreds of safe recipes.
If you’re familiar with the basics of home canning, these tips and tricks will come in handy when preserving roasted raspberry and other berry syrups in a boiling water bath or steam canner:
- Know your fruit: All berries, except elderberries, have enough natural acidity that you can safely can their sweetened, slightly thickened juice as syrup in a boiling water bath or steam canner. Lemon juice boosts that acidity further and adds bonus flavor.
- Double strain: I simply strain berries through a fine-mesh strainer when making refrigerated syrups, but seed-free juice is best for longer pantry storage. Pour the roasted berries and their juice into the colander set over a large bowl. Stir gently, and then let the fruit sit until the juice stops dripping. Put the berry pulp into another bowl and set it aside for another use. Then dampen a layer of butter muslin or multiple layers of looser-weave cheesecloth, use it to line the colander, and strain the juice again. Pressing on the juice during straining can make syrup cloudy but still safe to eat.
- Bump up the sugar: Long-stored syrups last longer, both when sealed in jars and once opened and refrigerated, if you make them sweeter. Some older tested recipes use more sugar than juice; many contemporary ones from the Ball canning company use about 1 cup of sugar for every cup of juice or pound of fruit. When canning Roasted Raspberry Syrup, I recommend using 2 cups of sugar for every 3 pounds of fruit.
- Keep it flowing: If you’ve ever made jelly with just sugar and fruit juice, you know that the boiling time makes—or breaks—the set. Fruit syrup is essentially an unset jelly, and if you let it boil too long, it will form gelled chunks in the juice. Stick to 1–5 minutes when boiling fruit syrup for canning.
- Use safe canning techniques: Follow all modern, safe canning practices, which are explained in detail in the resources mentioned earlier. Ladle the hot syrup into hot half-pint jars, leaving 1/4-inch headspace. Process them in a boiling water bath or steam canner for 10 minutes, plus your altitude adjustment. (Many modern recipes have shifted to the 10-minute processing time to skip the step of sterilizing jars that is required for shorter processing times. I’ve made the switch for my fruit syrups and haven’t noticed a difference in the flavor or texture.)
You can also learn more about safe canning, with my help, in my pickling and canning workshops.
Want more Twice as Tasty recipes? Get my books! Click here to order a personally signed, packaged, and shipped copy of The Complete Guide to Pickling directly from me. I also share tasty ways to use pickles in The Pickled Picnic; it’s only available here.
Discover more from Twice as Tasty
Subscribe to get the latest posts sent to your email.
