
I comfortably admit that I’m a granola girl—regardless social connotations that have been attached to that phrase. I eat homemade granola almost daily in summer, scooped over Homemade Small-Batch Yogurt and barely visible beneath a mound of fresh homegrown berries. In winter, I flavor the yogurt with homemade jams. In summer, I make granola in a food dehydrator, letting its aroma fill my mudroom without heating up the whole house, but I sometimes pop it in the oven in winter when I want that extra warmth.
The adaptability of homemade granola extends beyond add-ins and prep methods, as I explain this week my Twice as Tasty column for the Flathead Beacon. The recipe I share there avoids many common allergens, with replacements that make it nut-free, gluten-free, and vegan-friendly. It shows just how easily you can adjust granola ingredients to suit your diet and preferences.
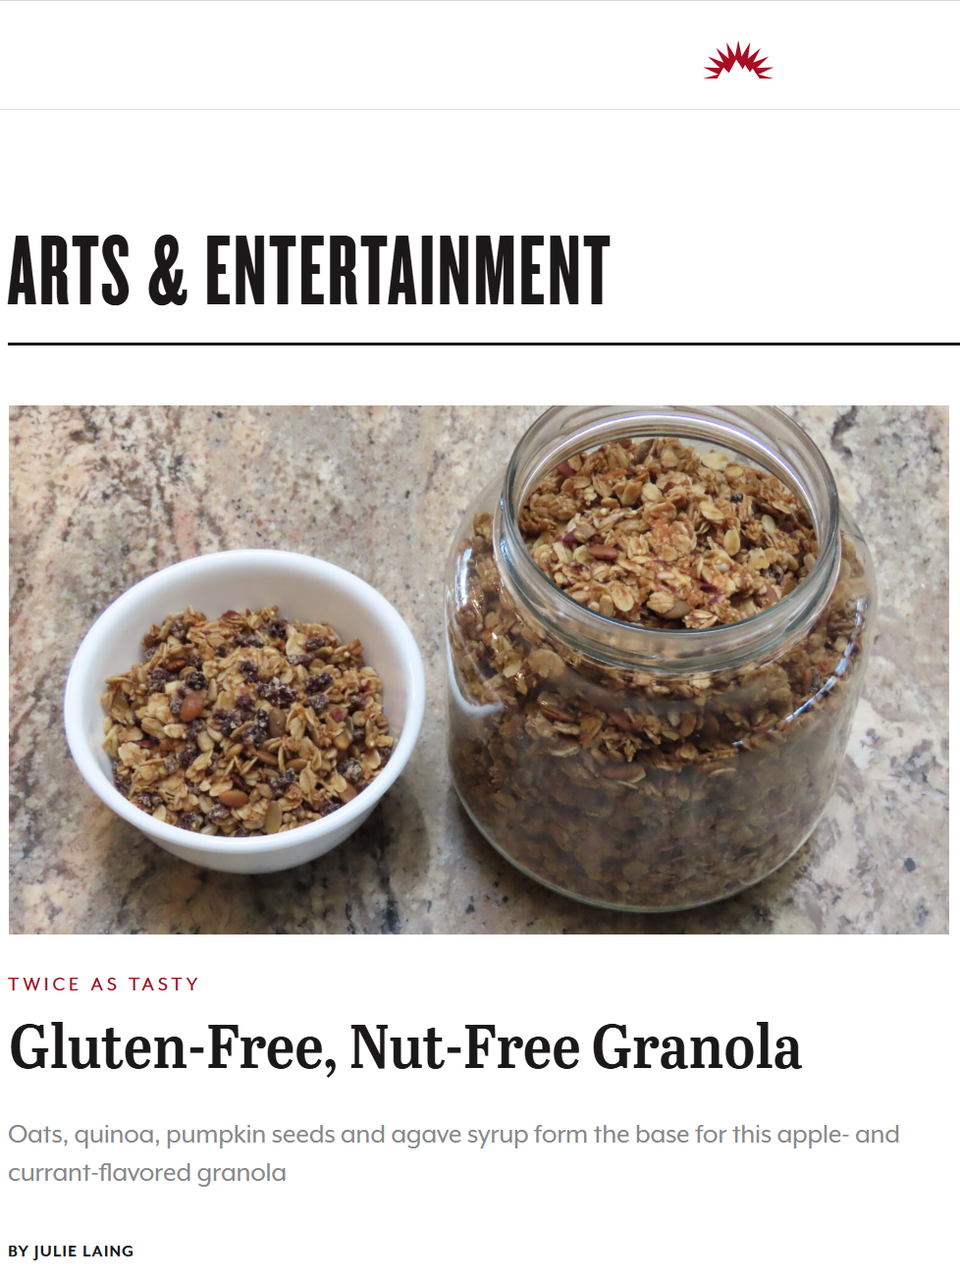
Learn to make Gluten-Free, Nut-Free Granola


